Photo by messtiza / bianca francesca, found on Flickr, licensed under Creative Commons.
A series of clipboards hung on the wall can be a great office organizing tool for some people; take a look at the recent "clipboards on the office wall" photo at Apartment Therapy, or this older one in Lotta Jansdotter's studio.

If you like this idea, you might also want to look at the range of clipboards available. Kelly Stephens at box64studios has a number of gorgeous clipboards. Update on Jan. 10. 2014: I'm no longer seeing clipboards on this website.

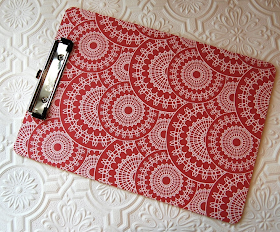
This clipboard comes from Astoria Lane. Update on Jan. 10, 2014: Astoria Lane doesn't seem to sell clipboards any more.

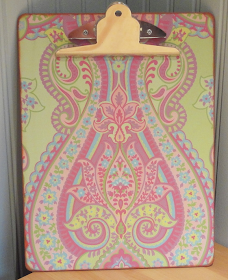
And this one-of-a-kind clipboard comes from Laughing Taffy Designs.

The Macbeth Collection clipboards are available in a huge range of patterns.

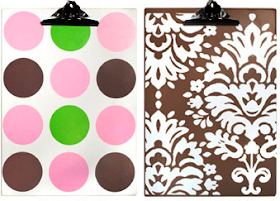
BlueDogz Design has some very nice clipboards, too, in three different patterns - the one not shown is the houndstooth. Update on Jan. 10, 2014: This company doesn't seem to sell clipboards any more.

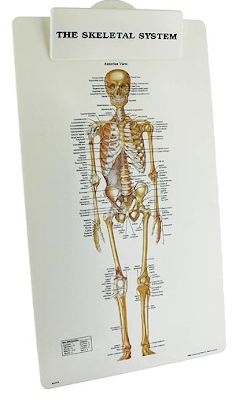
And for something completely different, let's end with this skeletal system clipboard from the Anatomical Chart Company. There's a muscular system clipboard, too. Update on Jan. 10, 2014: It seems these products have been discontinued.
If you can't find a clipboard that suits your tastes using spray glue and fabric or wrapping paper, a wooden/cardboard clipboard could be easily personalise.
ReplyDeleteCut your fabric about an inch bigger than the board all round. If the clip is screwed on, unscrew. Otherwise, mask it off so you don't spray glue on it. Evenly spray the entire front of the board, carefully smooth your fabric onto the front. If necessarily, cut around the clip. To keep the edges tidy, leave a small margin (say 1/4 inch) and ease it under the clip with a flat blade, if possible. Turn the board over. Glue the 1 inch hang-over edges down. Cut a piece of fabric (same one as the front, or contrast) about 1/2 an inch smaller all round than the board. Spray the backing fabric (so you don't get excess glue on the edges of the back of the board), carefully lay the backing fabric evenly on the back and smooth into place.